Tech stack:
- WordPress
- Cloud
- Fedora
- Apache2
Hello everyone. Today, I am going to be creating a webpage for as a frontend to my portfolio. It will include my github page, my projects, my notes (using wiki.js or something similar) and my posts.
But before managing and designing my website, we need to create it. I will be using WordPress with manual installation using tarball on my Fedora remote server.
Why I am using manual method?
There are couple of ways of installing the WordPress, mainly manual installation and using the package manager (dnf in my case). Using the package manager seems easier at first, but it is definitely not.
In my use case, I am using the whole server, not a container. Also I will be hosting multiple websites, which I use Apache virtual hosts. And automatic installation is really hard to configure for multiple hosts. Reasons being:
1- It scatters files all over the place. Like core files might go /usr/share/wordpress, config to /etc/wordpress, and uploads to /var/lib/wordpress, which makes everything much harder
2- Really hard to manage multiple websites, since there is no clear separation between websites. It is much easier when every website has their own folder under /var/www
3- Updates are much more granular. You can’t update with dnf update, but you can have separate versions, and separate configs for each website
Installation
Now we will start installation. After the main installation, I will explain the necessary topics like config files, Apache folder structure, and security steps
Step 1: Install apache & Dependincies
- Install apache to your system
sudo apt install apache2  ## Debian-ubuntu
sudo dnf install httpd  ## RHEL
NOTE: In RedHat systems, “httpd” is used instead of “apache”. It is just a name change.
- Install dependencies
sudo dnf install -y httpd mariadb-server php php-mysqlnd php-gd php-xml php-mbstring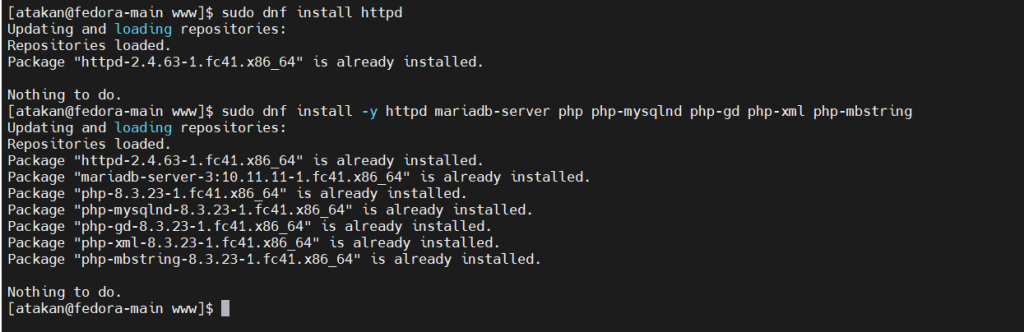
Step 2: Create Database and User
Every WordPress site needs its own unique database and user for security. I suggest giving the name of your website as the database and user name.
sudo mysql

CREATE DATABASE my_website;
CREATE USER 'my_website_user'@'localhost' IDENTIFIED BY 'Your_Database_Password';
GRANT ALL PRIVILEGES ON my_website.* TO 'my_website_user'@'localhost';
FLUSH PRIVILEGES;
EXIT;
Here, we first entered our SQL database as root user. Then, we created a user and a database for our WordPress website. It will be used to store website related files like uploads.
Then, we give privileges to this user to alter the database, and applied this privileges by flushing.
We will use this username and password in our WordPress config.

Step 3: Create Directory and Download WordPress
Now, we will create a dedicated directory for the website.
Usually, if you had only 1 website, it is stored in /var/www/html. This directory is called “DocumentRoot” by default. It is defined in /etc/httpd/conf/httpd.conf. This folder contains your webpage and related files.
But since we will host multiple websites with the use of VirtualHost, we will host the webpage under /var/www/my_website. You can also contain it under /var/www/wordpress/my_website if you want to separate WordPress webpage from others.
sudo mkdir /var/www/my_website.com  ## main folder
cd /var/www
sudo wget https://wordpress.org/latest.tar.gz  ## Download the wordpress tarball

sudo tar -xzf latest.tar.gz -C /var/www/my_website.com --strip-components=1  ## strip-components make it extract to the wanted directory and not create another child dir

sudo rm latest.tar.gz
Step 4: Configure Apache Virtual Host
We will create a configuration file to tell Apache we are having a website.
sudo vim /etc/httpd/conf.d/my_website.com.conf
Then, put this inside the config file:
<VirtualHost *:80>
    ServerName my_website.com
    DocumentRoot /var/www/my_website.com
    <Directory /var/www/my_website.com>
        AllowOverride All
        Require all granted
    </Directory>
</VirtualHost>
Save and exit file. Then, test config, restart apache, and enable it to start at boot
sudo apachectl configtest  ## some distros uses apache2ctl

sudo systemctl restart httpd  ## apache2 in ubuntu-debian
sudo systemctl enable httpd
Optional Step: DNS Settings
If you want your website to be available to the internet, you should have a domain. In my case, I have the domain “atakan.nexonet.space”. In my DNS registrar, I will add the A record to my server’s IP.
Step 5: Configure WordPress
cd /var/www/atakan.nexonet.space
sudo cp wp-config-sample.php wp-config.php
sudo nano wp-config.php
Put these in the file:
define( 'DB_NAME', 'blog_db' );
define( 'DB_USER', 'blog_user' );
define( 'DB_PASSWORD', 'Your_Very_Strong_Password_Here' );
define( 'DB_HOST', 'localhost' );
Step 6: Enable HTTPS
sudo certbot --apache -d atakan.nexonet.spaceNOTE: If you have any other website you host that uses SSL, the website you are trying to set up might not work if SSL not used. This is because Apache might try to force SSL if you configured it, and since you don’t have an SSL certificate, it will redirect to the existing one, therefore redirecting to your other website
After this, you should be able to connect to your website by going to the IP or the domain, and start setting up!
Apache and WordPress Security
When managing internet-facing applications, it’s crucial to consider security. We should always follow the Principle of Least Privilege, meaning only necessary users should have write access to critical files. However, we must also balance security with usability — for example, blocking all file modifications can break plugin installation or file uploads.
I will talk about necessary setups here, but there is always more to learn. I would also appreciate if you comment any suggestions you have.
Directory Permissions
Normally, apache service is managed by apache user. The root user start the process, then drops the privileges to the apache user. To prevent privilege escalation, we ensure only the necessary directories are writable.
Note: www-data user is used in debian systems instead of apache
The directory we need the apache user to be able to write is /var/www/your-site/wp-content. This is where your plugins and uploads exist. You should be able to set a plugin in the web GUI. If the permissions are not configured properly, you won’t be able to do that.
sudo chown -R root:root /var/www/your-site
sudo chown -R apache:apache /var/www/your-site/wp-content

sudo find /var/www/your-site -type d -exec chmod 755 {} \;
sudo find /var/www/your-site -type f -exec chmod 644 {} \;
This way, you increase the security and make your website usable by yourself.
config.php file
To be able to directly manage our website, we need to add a line to this config. If we don’t, when you try to do a change, it will ask for an FTP credentials.
To allow WordPress to write to the filesystem (e.g., install plugins, delete themes) without asking for FTP credentials, you need to force direct access by adding the following line to your wp-config.php:
define('FS_METHOD', 'direct');before the /* That’s all, stop editing! Happy publishing. */ line.
SELinux
If you’re using a Red Hat-based system (like Fedora, CentOS, AlmaLinux) with SELinux in enforcing mode, you’ll need to allow Apache to perform specific actions and access writable paths.
You need to do 2 things:
Set Write Permissions in wp-content directory
Even though we set correct user and permissions, SELinux will still block Apache from writing to the directory unless we apply the correct SELinux context.
sudo semanage fcontext -a -t httpd_sys_rw_content_t "/var/www/your-site/wp-content(/.*)?"
sudo restorecon -Rv /var/www/your-site/wp-content
Allow WordPress to make outbound connections
WordPress needs to contact ‘api.wordpress.org’ to install/update plugins and updates. You can enable it with SELinux using the command:
sudo setsebool -P httpd_can_network_connect on